ShareASale Integration Guide
ShareASale Integration Guide for WooCommerce / Shopify / BigCommerce
Selling your eCommerce products through affiliate marketing is one sure way to gain more customers and increase sales. As per the ShareASale documentation, it is recommended for merchants to provide a data feed to the affiliates. This helps the affiliates to get the product-specific link and help in conversions.
ShareASale strongly recommends merchants to update their product feed to keep the affiliates updated about pricing and product quantity changes. For this, merchants are allowed to update their product feed up to 31 times a month.
If you are looking to send Shopify products to ShareASale, we recommend you to schedule a personalized demo with our talented support team.
Prerequisites to send products to ShareASale
You must have Merchant Account on ShareASale
Install ExportFeed on WooCommerce, Shopify, Bigcommerce, Opencart, Virtuemart, Magento
ShareASale Feed Creation Process
Follow the steps below to configure the ExportFeed plugin and generate your first data feed.
If you haven’t already,
– Make sure you have created your merchant account for ShareASale.
– Make sure you have a running website in one of our supported platforms.
– Make sure you have our plugin installed on your website.
Feed Creation Process
To start creating feeds, from the WordPress Admin’s left navigation bar click ProductFeed.
1. Create Feeds Page
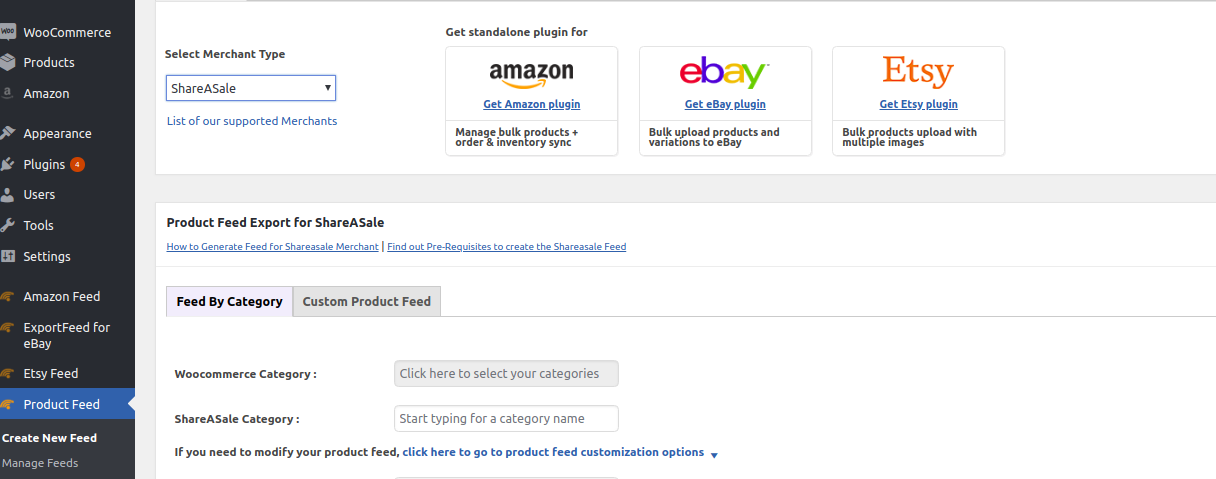
2. Select Merchant Type
Choose a merchant type from the drop-down list. In this example we use ShareAsale. Please see a full list of our support channels
* Please note depending on the Merchant selected, you may be required to choose a category or template first.
* A second “Required Attribute” box will appear below. If you do not see this, please see our FAQ
3. Mapping Required Attributes
- Mapping your local (WooCommerce, WP e-commerce, VirtueMart) attributes or setting static values for required merchant fields is the most important step in creating successful data feeds.
- The plugin automatically detects and maps most of your local attributes (title, description & images for example), but in some cases, manual mapping is required (size, gender, color). Continue on to step 5 and generate a feed. Return to this step if you are missing any attributes or values.
- To meet Merchant requirements, you will first create local attributes (if you haven’t already) and then map them to Merchant ones.
Each Merchant has its own strict set of required attributes – they are shown in the plugin’s attribute table (below screenshot).
You can also see the required attributes here.
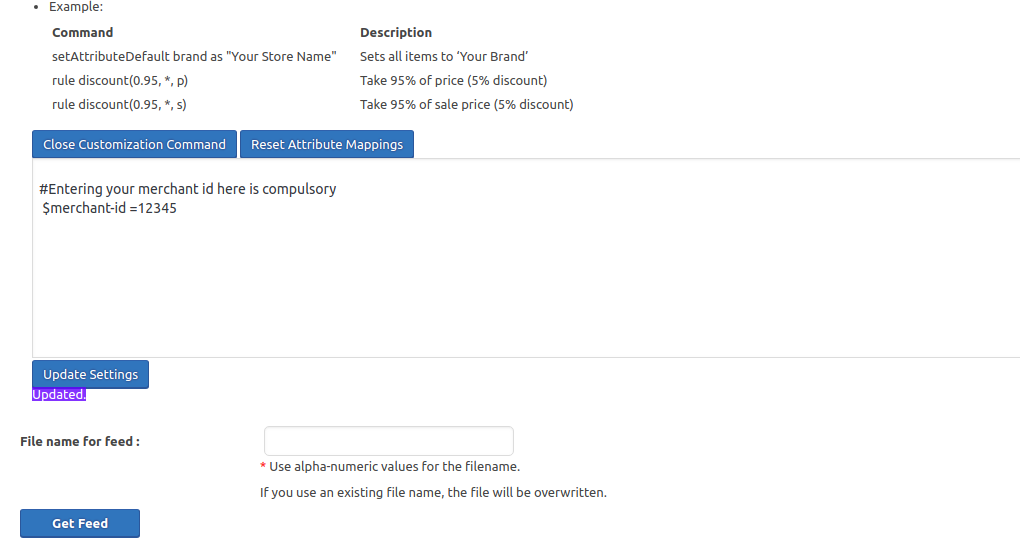
5. Enter Merchant ID in the Advance command
Your merchant id is one of the crucial information that needs to be sent to ShareASale for uniquely identifying products as yours. For this you need to enter your ShareASale seller id while creating your feed through the Advanced command section.
4. Select the WooCommerce Category/Categories you wish to export.
Note that selecting a parent category automatically includes all of its child categories!
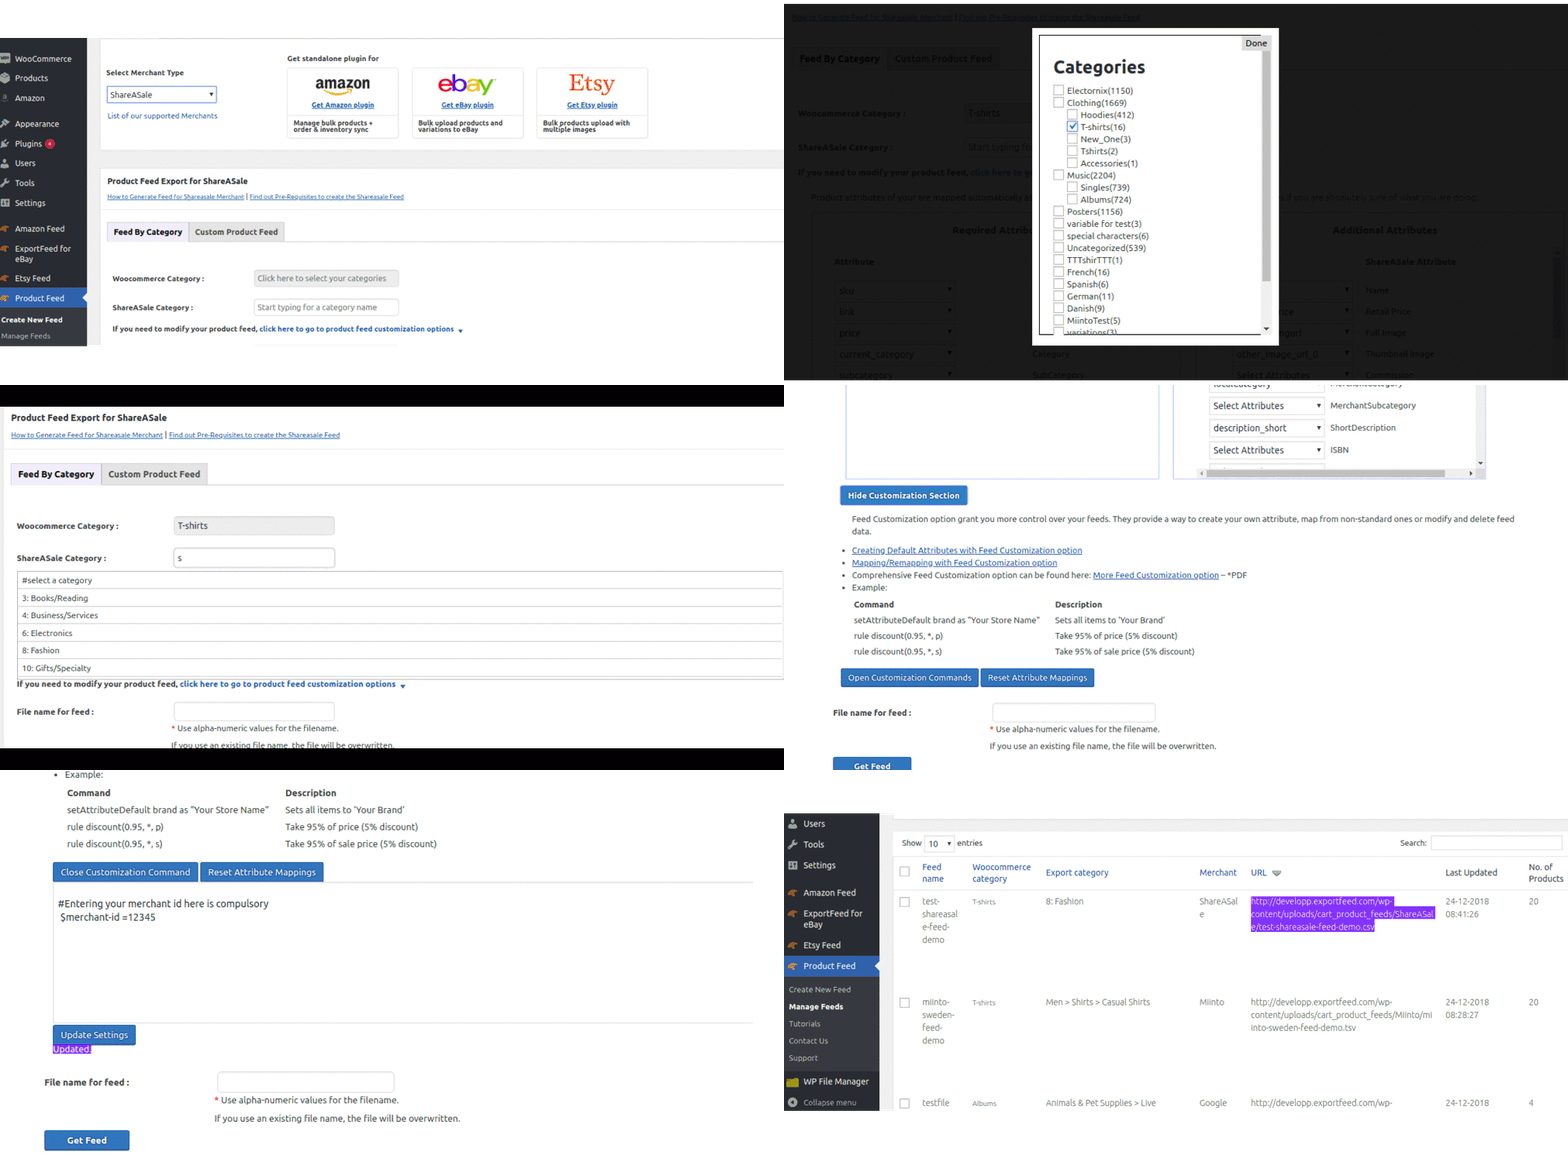
Click the field beside “WooCommerce Category” to select from a list of WooCommerce categories (1). A small box will appear with a list of categories to export (2). If you do not see anything, please see FAQ – No Categories .
6. Select the Merchant Category or Template
Start typing a category that closely matches your products. For a list of categories, see Merchant Category Lists
7. Name Your Feed
To easily manage your feeds (view/edit/delete) later, enter a name for your feed. Generated feeds can be found from ProductFeed > Manage Feeds.
8. Get Feed
Generate the data feed by clicking “Get Feed”. A new window will contain your products in XML, CSV or TXT format. Ensure that your browser allows pop-ups from your website.
- To view your XML feed: right-click and select ‘view page source’
- To view a CSV or TXT feed: save the feed (ctrl+s or cmd+s) and open the file via a spreadsheet software (Excel)
- You have completed creating your product feed, now it is time to upload it to ShareASale.
- Start feed upload process by logging to ShareASale Merchant account from here.
- After Logging in, Go to Creatives > Data feed
- Upload the newly created CSV data feed file there.
- Wait for the report and if any error, please contact our support team.
- Finally, check the listing of your products manually.
Automatic Feed update on ShareASale
Through ShareASale, your affiliates are able to get your product data and upload it on their marketing channels to generate sales for you. But what if the product data that your affiliates get is outdated? This will not only waste the efforts of your affiliates but will also have an impact on your affiliate campaign by adversely impacting on your goodwill.
For this, ShareASale recommends you to keep your product feed updated and submit the updated feed. The limit to upload your feed is 31 times a month. Keeping your product feed updated is easily handled by ExportFeed services. When your product data changes, you can refresh the feed and keep them updated.
Now, automatically uploading your updated product data to ShareASale requires you to get Merchant’s FTP access from ShareASale. You need to contact the tech team at shareasale@shareasale.com to set up FTP access for you. Then you can simply provide your Merchant FTP access to support team at ExportFeed and let us know about your upload frequency requirement. We’ll handle the rest.*
If you find the Process Complicated, Please contact us
*Setting up FTP upload to merchants may or may not require additional cost.


