How to get Amazon MWS details to Connect ExportFeed Cloud with Amazon
Sending your product information from your hosted platform like Shopify, Ecwid or BigCommerce to Amazon will increase your sales. It is a fact that more products you list on Amazon more sales you will secure.
Manually listing bulk products or even creating feeds manually is a cumbersome process and prone to errors too. So, connecting with ExportFeed Cloud service is a proven way to save hours of manual work and avoid errors.
While connecting your web-shop with our cloud service, after installing ExportFeed in your shop and selecting the Amazon Marketplace, you will need to add developer authorization to your Amazon MWS access. Here is how you can do that.
Adding Amazon Sales Channel on ExportFeed Cloud
- Click on “Add New Sales Channel” on the ExportFeed cloud dashboard
- Search Amazon and click on the “Add Channel” button
- Choose the Amazon Marketplace from the dropdown menu and click on Connect Amazon Account button.
- Click on Authorize a Developer and add ExportFeed Developer Account to allow ExportFeed app to handle your product listing on Amazon.
Authorizing ExportFeed Developer account to access your Amazon MWS
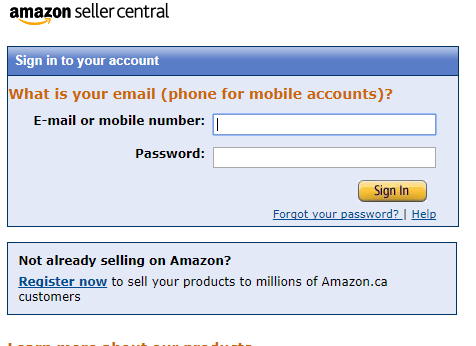
After clicking on the button, a new tab will open asking you to log in to your Amazon Seller Central account.
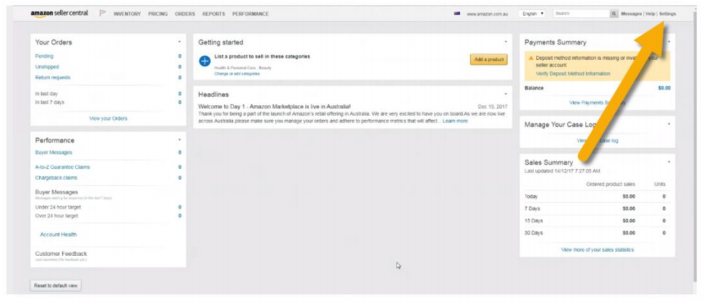
After you log in to your Amazon Seller central, you need to go to the Manage Your Apps page.
On the User Permissions page, if you scroll down a bit, you will find the option to Authorize a Developer to your MWS account. This will allow the connection between your Amazon account and ExportFeed Cloud service. Note: The developer access is mandatory to enable the product upload and sync functionalities.
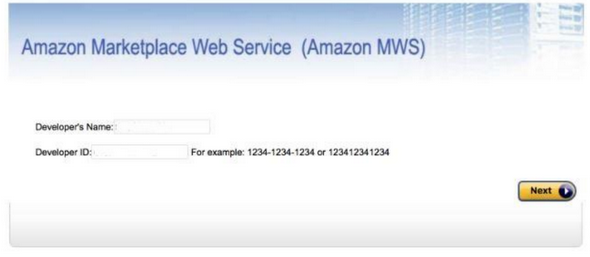
After that, enter the Developers Name and Developers ID in the next screen as:
Developer’s Name: ExportFeed
Developers ID: 3495-4337-7271
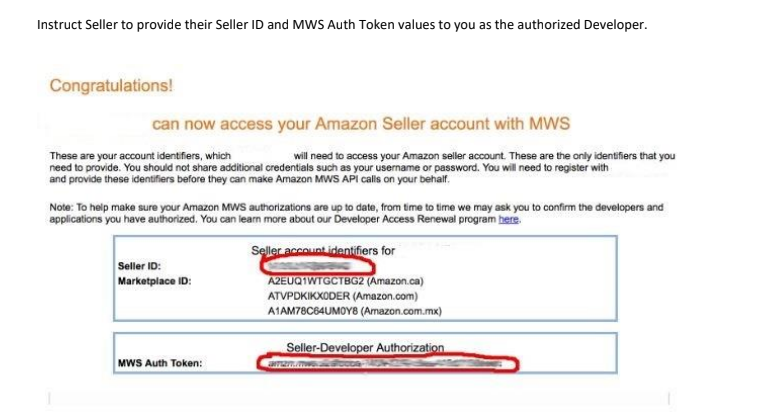
Now, you will see the Marketplace ID.
Copy and paste the details into ExportFeed Amazon connection form to provide required credentials.
Now, Click on Add New Amazon account to complete providing access to connecting ExportFeed cloud with Amazon MWS
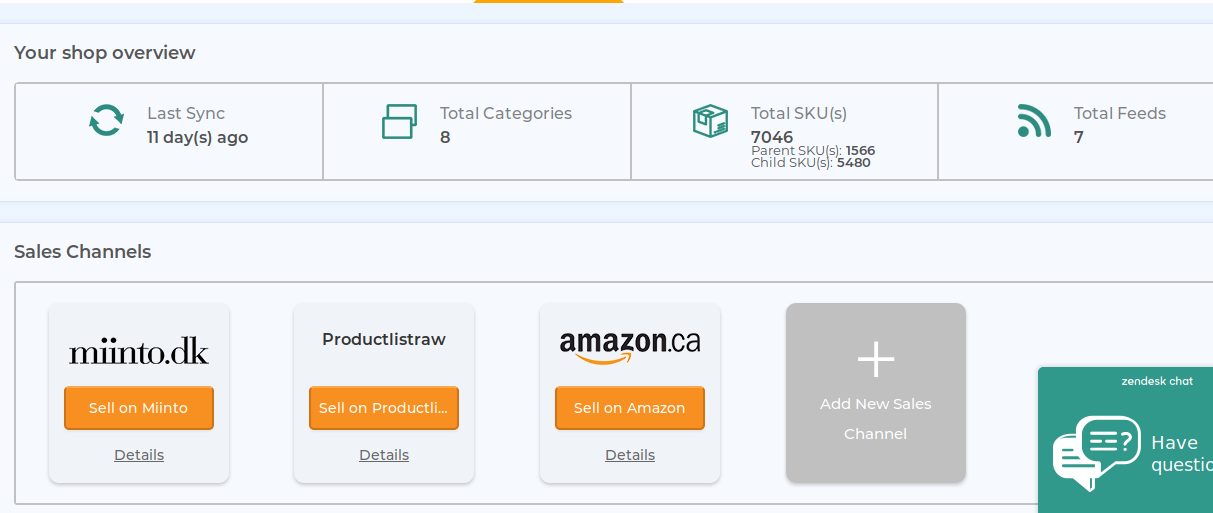
You’ll be redirected to the dashboard and you can start creating your product list for Amazon by clicking on the Sell on Amazon button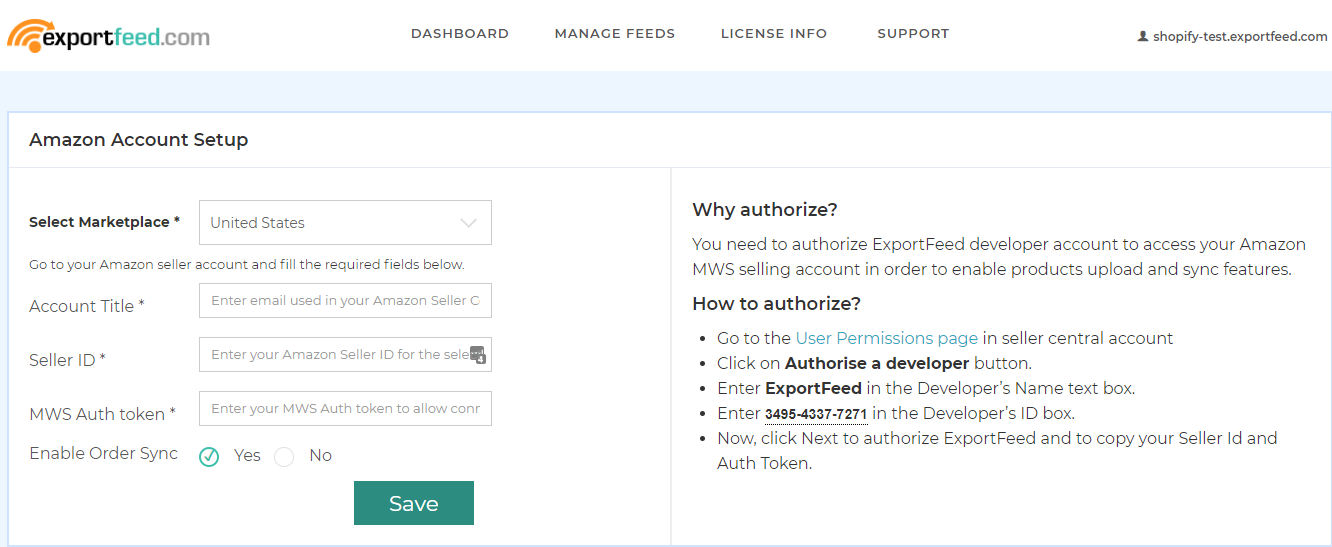
If you have any confusion regarding connecting your ExportFeed account with your Amazon MWS, please feel free to let us know.

